How to Manage Locations
Locations represent the physical areas within your property where inventory is stored or used -- for example, a storage room, kitchen, or bar. Managing locations lets you control where products are tracked and how transfers flow between areas.
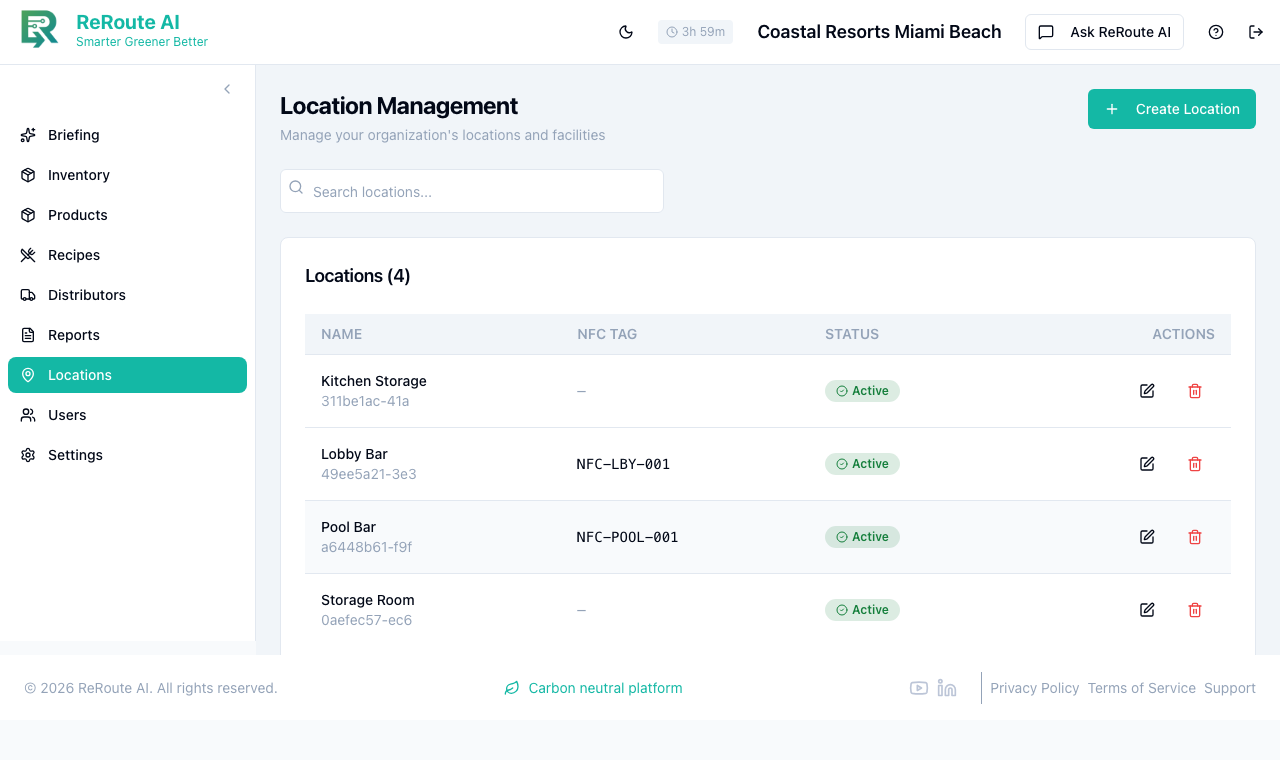
Viewing your locations
-
Click Locations in the left sidebar.
-
You will see a list of all locations configured for your property. Each entry shows the location name, type, and configuration details.
-
Click on any location to view its details, including:
- Address and type classification (Storage, Restaurant, etc.).
- NFC tag assignment (if applicable).
- Associated inventory summary.
Adding a new location
-
On the Locations page, click the Add Location button.
-
Fill in the location details:
- Name -- a descriptive name (e.g., "Rooftop Bar," "Banquet Kitchen").
- Type -- select the location type (Storage, Restaurant, Kitchen, etc.).
- Address -- the physical address or area description.
-
Optionally assign an NFC tag ID if the location will use NFC scanning for transfers and inventory counts.
-
Click Save.
Configuring a location
- NFC Tags -- assign or update the NFC tag ID on the location detail page. Only locations with NFC tags can use tap-to-scan for transfers and inventory counts.
- Inventory -- once a location is created, products can be stocked there through transfers, deliveries, or manual adjustments.
Only users with the Tenant Admin role can add or modify locations. Location Managers and Staff can view location details but cannot change the configuration.