How to Create a Transfer
Transfers let you move products from one location to another -- for example, restocking a bar from your storage room. Every transfer is tracked with a unique Movement ID and follows a lifecycle from initiation to completion.
Steps
-
Click Inventory in the left sidebar, then open the Movements tab. This is where every transfer and stock movement is tracked.
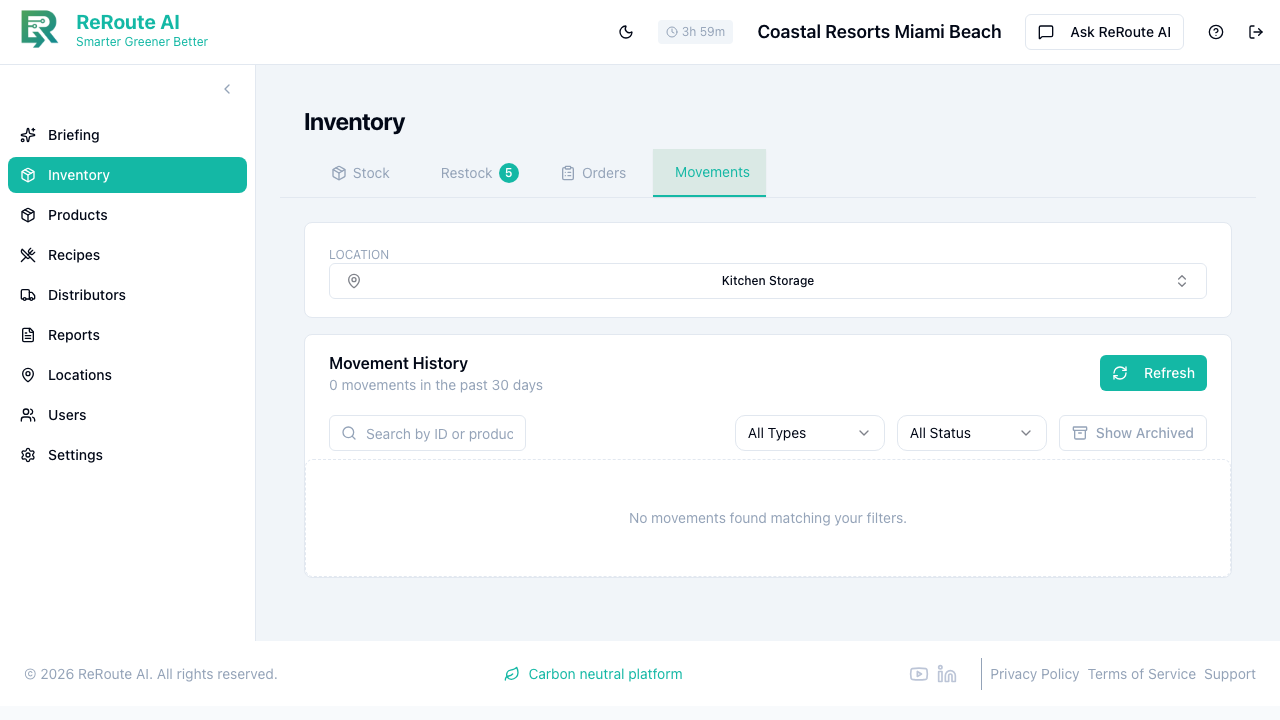
-
To start a transfer, go to the Stock tab and click New Movement (top-right). This opens the movement wizard.
-
Step through the wizard:
- Movement type -- choose Transfer.
- Source Location -- where the products are now (e.g., "Storage Room").
- Destination Location -- where they need to go (e.g., "Pool Bar").
- Product(s) and Quantity -- select each product and the number of units to move. You can add more than one product to the same transfer.
- Reason / notes -- add a movement reason if prompted.
-
Review the summary on the final step and submit the transfer.
-
Your transfer appears in the Movements tab with a unique Movement ID (format:
MOV-NFC-{uuid}for NFC-verified transfers). The initial status is Initiated, and the selected products are now reserved at the source location.
Transfer lifecycle
Once created, a transfer moves through these stages:
- Initiated -- products are reserved at the source location.
- In Transit -- source staff confirmed pickup via NFC scan.
- Received -- destination staff confirmed delivery via NFC scan.
- Completed -- quantities updated at both locations and reservations released.
If a transfer is not completed within the timeout period, it is automatically cancelled and reservations are released.
After creating a transfer, go to Inventory and check the source location. You will see the reserved quantity has increased, reducing the available quantity. This prevents double-booking.