Signing Up and Getting Set Up
Before you reach the Welcome experience described in the next article, you create your account through a self-service signup flow. This article covers what happens between clicking "Sign Up" and logging in for the first time.
Account creation, plan, discount code, and card entry all happen in one continuous flow, and you verify your email at the end.
Step 1: Account information
On the signup page, provide:
- Your email, password, and name.
- Your organization name and venue type (Hotel, Restaurant, Bar, Stadium, Convention Center, or Other).
- Your property's address.
- Optionally, a phone number and job title -- you can leave these blank and still complete signup.
- If you manage more than one property under a parent company, check This is a corporation with multiple properties and provide the corporation name -- you can add individual properties once your account is active.
Step 2: Choose a plan
Pick the plan that matches your operation and whether you want to pay monthly or annually:
| Plan | Best for | Billing |
|---|---|---|
| Standard | Core forecasting, waste tracking, and carbon scoring for a single property | Credit card, monthly or annual |
| Enterprise | Multi-property rollups, corporate hierarchy, and priority support | Invoice / purchase order, arranged with our sales team |
Enterprise accounts are set up with our sales team and billed by invoice or purchase order, so there is no card to enter. The card steps below apply to the credit-card plans.
Step 3: Add a discount code (optional)
If you have a discount code, enter it on the Review & pay step. Press Apply to see the price preview update right away so you know what you will pay before you enter your card. If you forget to press Apply, the code is still checked and applied when you continue to payment. Leave the field empty if you do not have a code.
After signup, an active discount and your current price are shown in Settings > Billing.
Step 4: Enter your card
Enter your card details directly on the page -- you stay in ReRoute AI the whole time, with no redirect to another site. Your subscription starts with a 14-day free trial.
If the payment does not go through, you can retry from the same flow without re-entering your account information.
Step 5: Verify your email
Once payment is complete, we send a 6-digit verification code to your email address. Enter it on the Verify Email page to confirm your address and sign in. Codes can be resent if needed.
Your first login
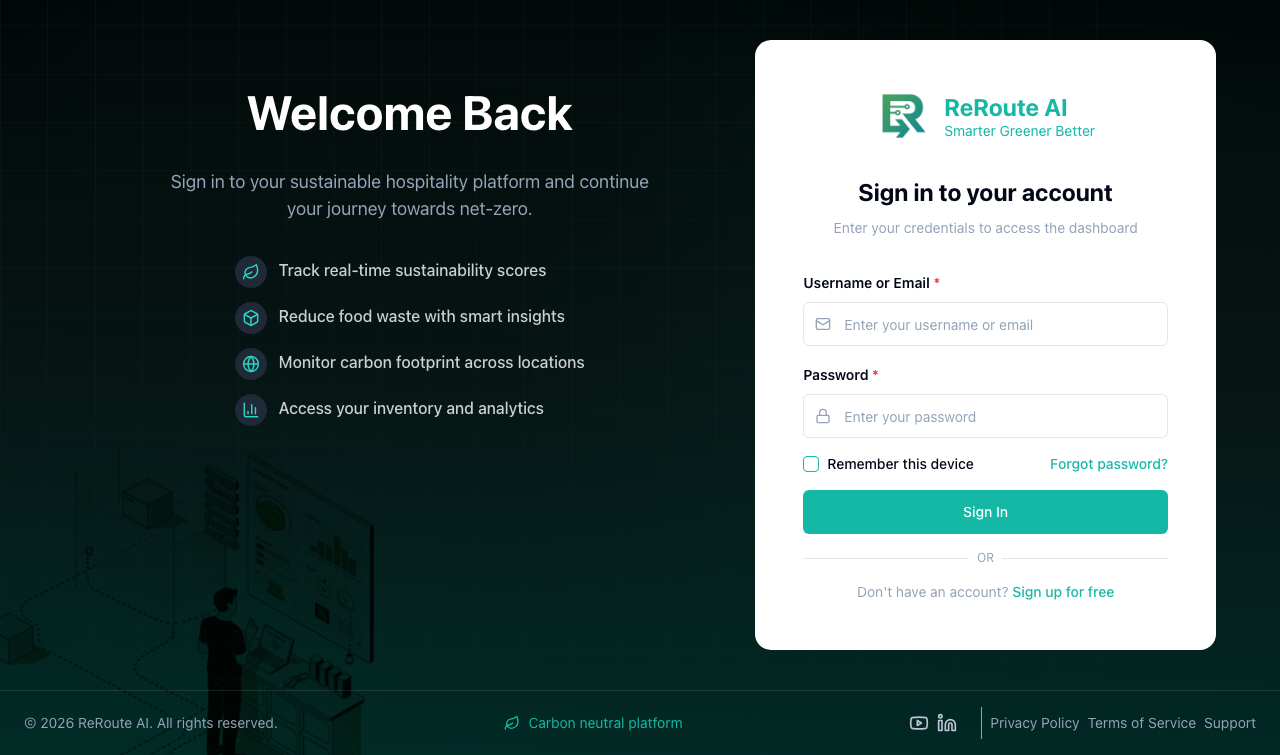
After you verify your email, sign in with the email and password you created. You'll land on the Briefing page -- see Welcome to ReRoute AI for what to do from there.
Have your organization's address and venue type handy before you start -- these are used to tailor sustainability benchmarks to your type of operation.